How to Draw a Realistic Rose
Draw a realistic rose in pencil. Step by step tutorial and video to follow along.
All you need is a pencil, a sharpener, an eraser, and a sketchbook or sheet of paper. Let’s get started
Draw a realistic rose in pencil. Step by step tutorial and video to follow along.
All you need is a pencil, a sharpener, an eraser, and a sketchbook or sheet of paper. Let’s get started

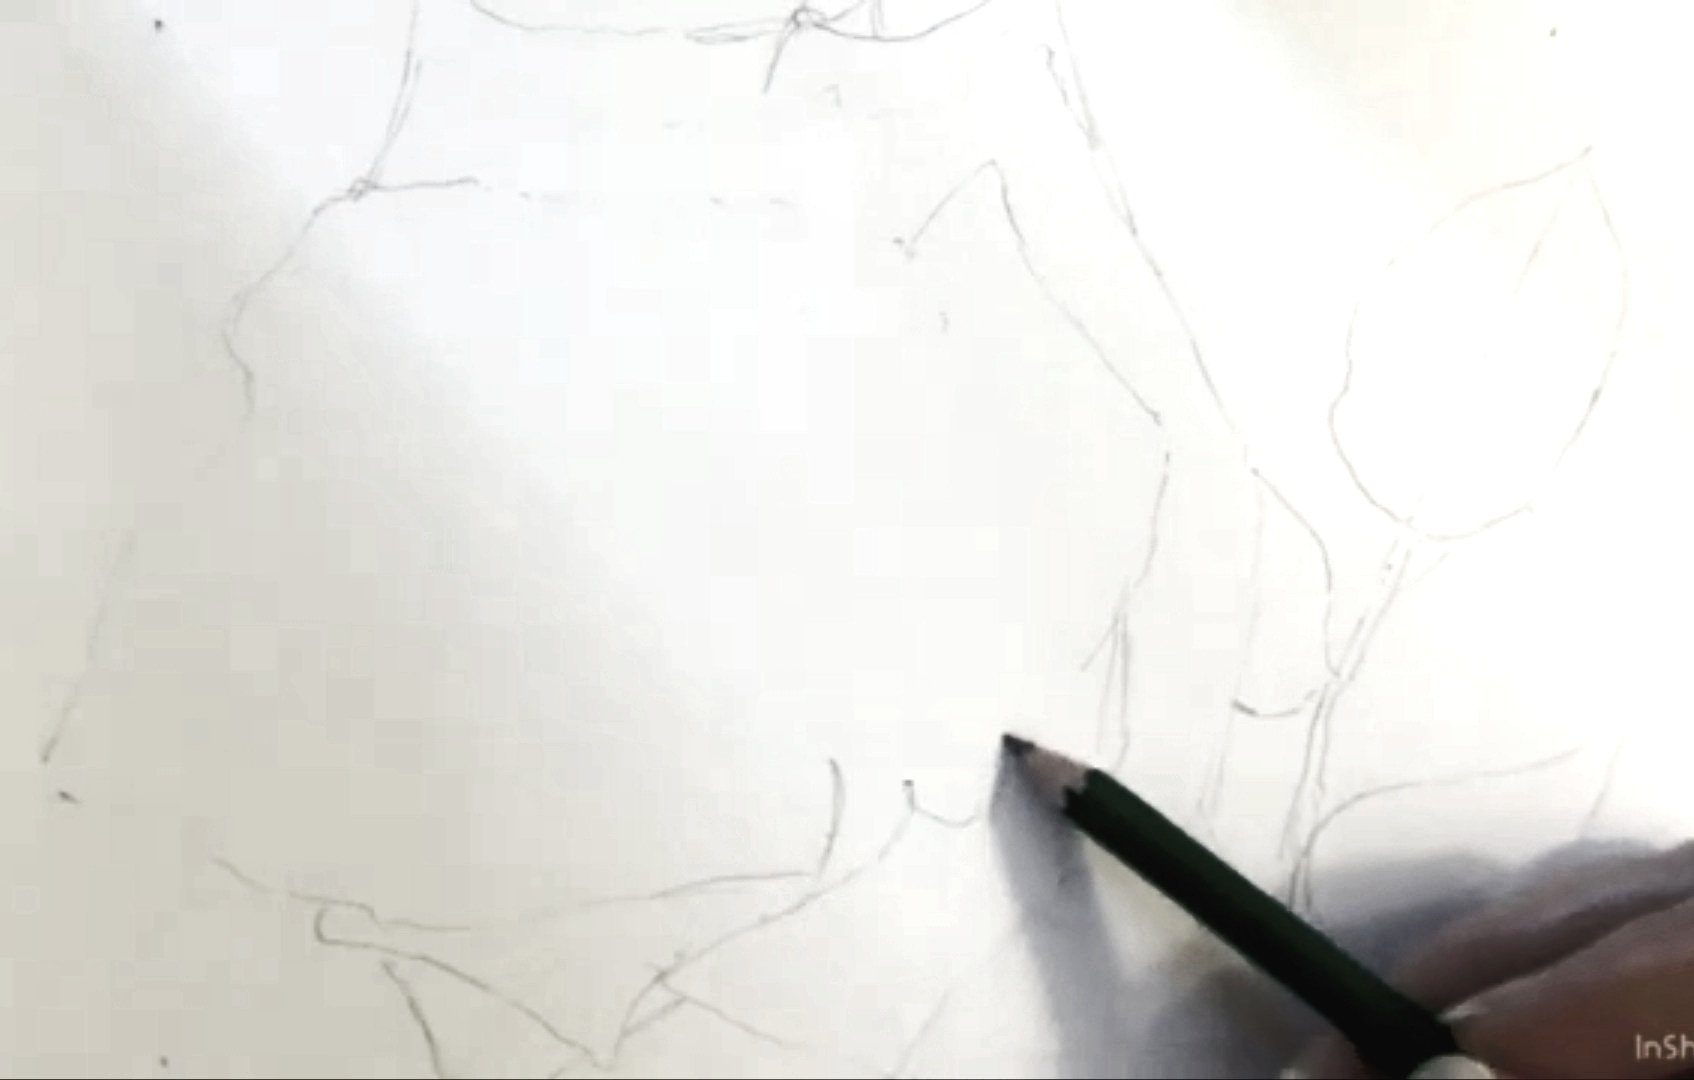
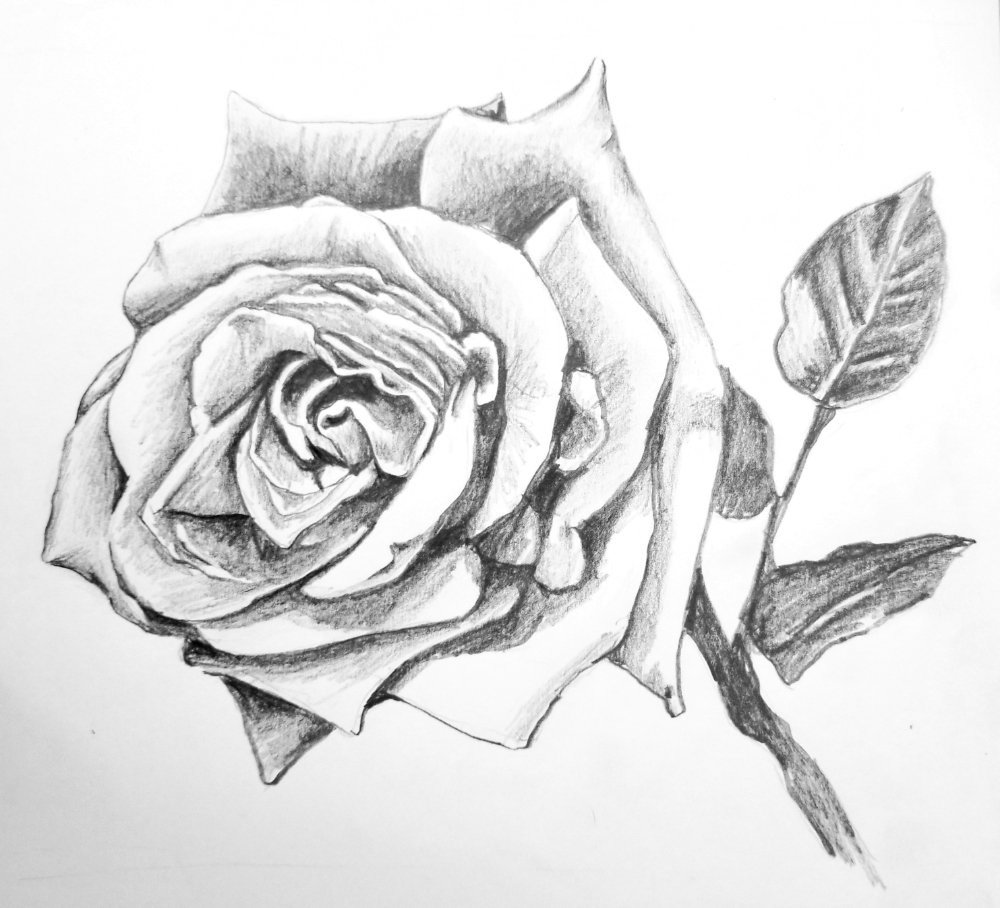
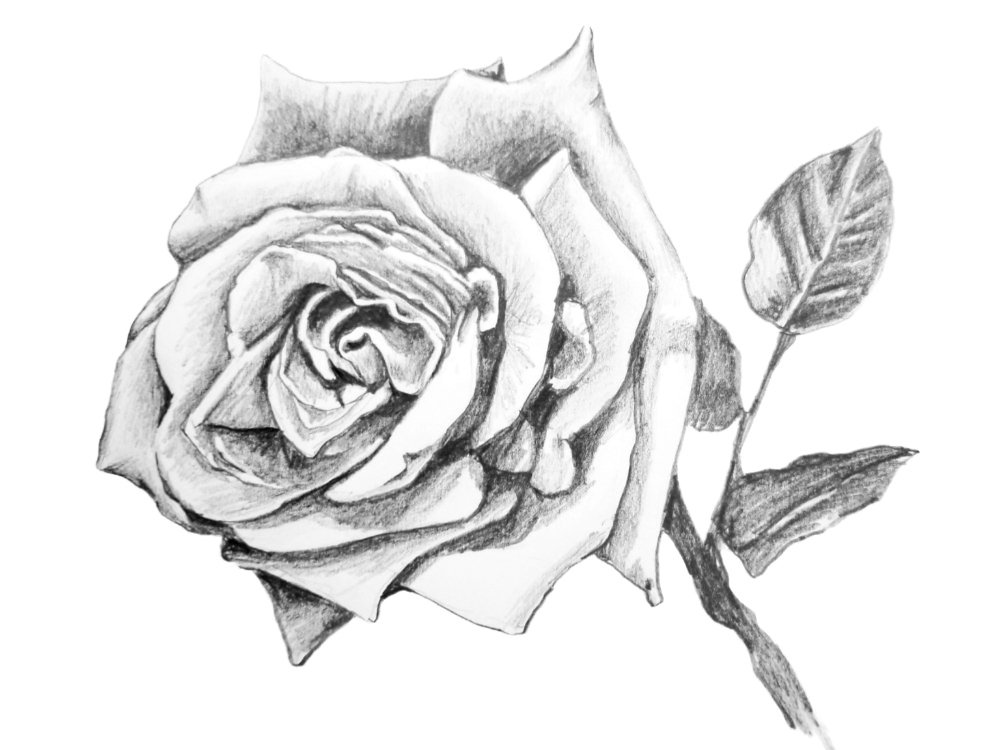
Draw a very soft outline for your rose. I like to start with the outer shape, which is a rough circle, and then work my way inwards. defining each of the petals. Keep a soft touch so it will be easy to erase and make corrections. Because its an organic shape it doesn’t need to be exactly like the photo to look nice.
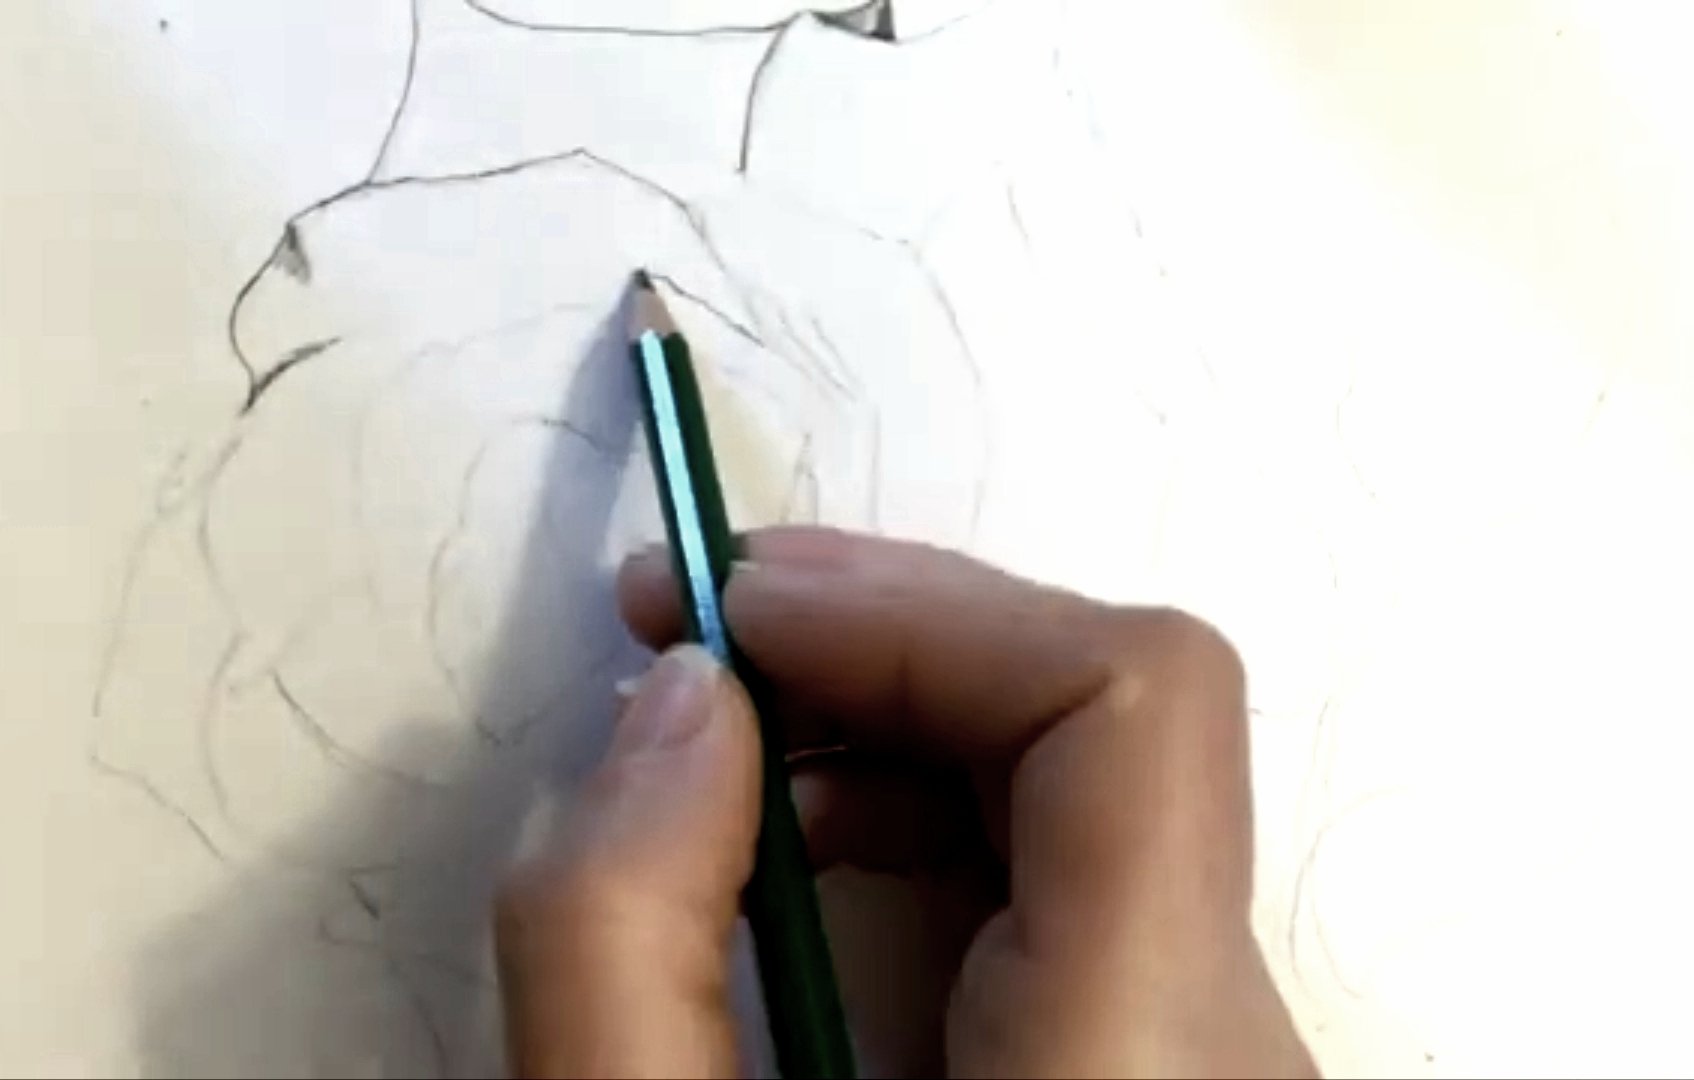
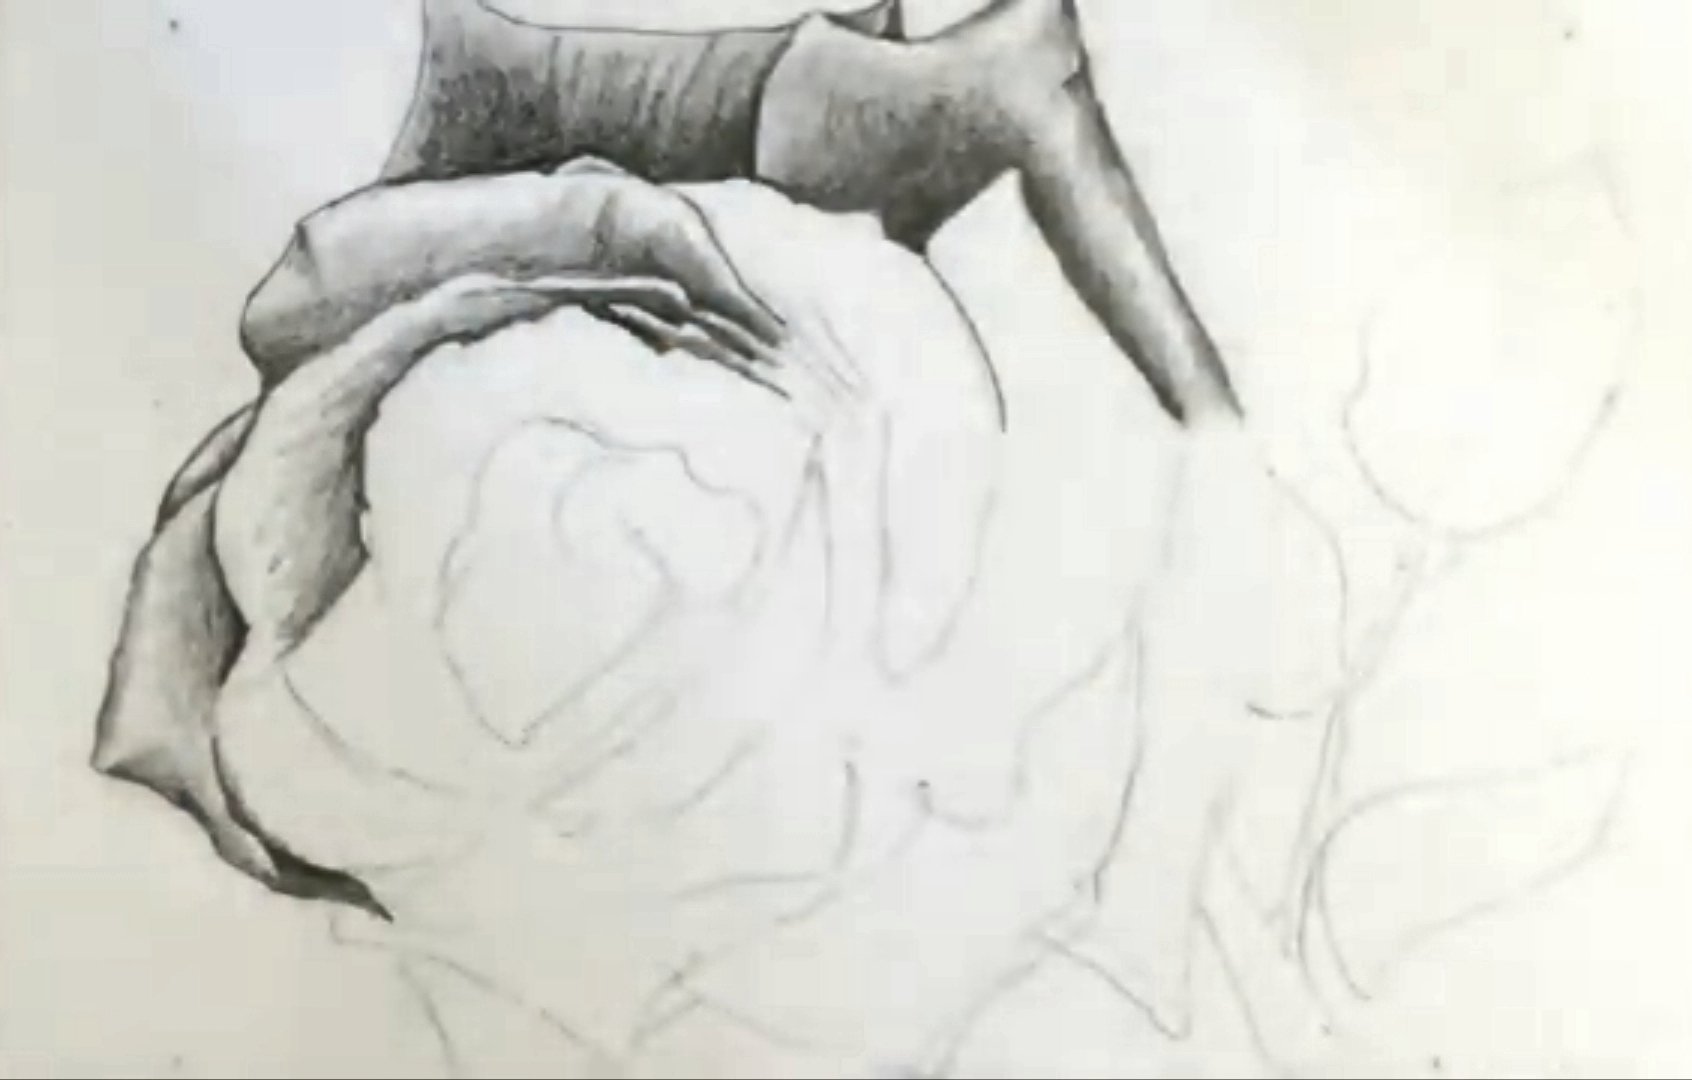
Once you are satisfied with the shape - Start to define and darken the outlines of the image. You can do small adjustments and corrections along the way.
Once everything is outlined, begin shading the petals. Use the directional marks of your pencil to indicate wrinkles and the subtle ribbed texture on the surface of the petals.
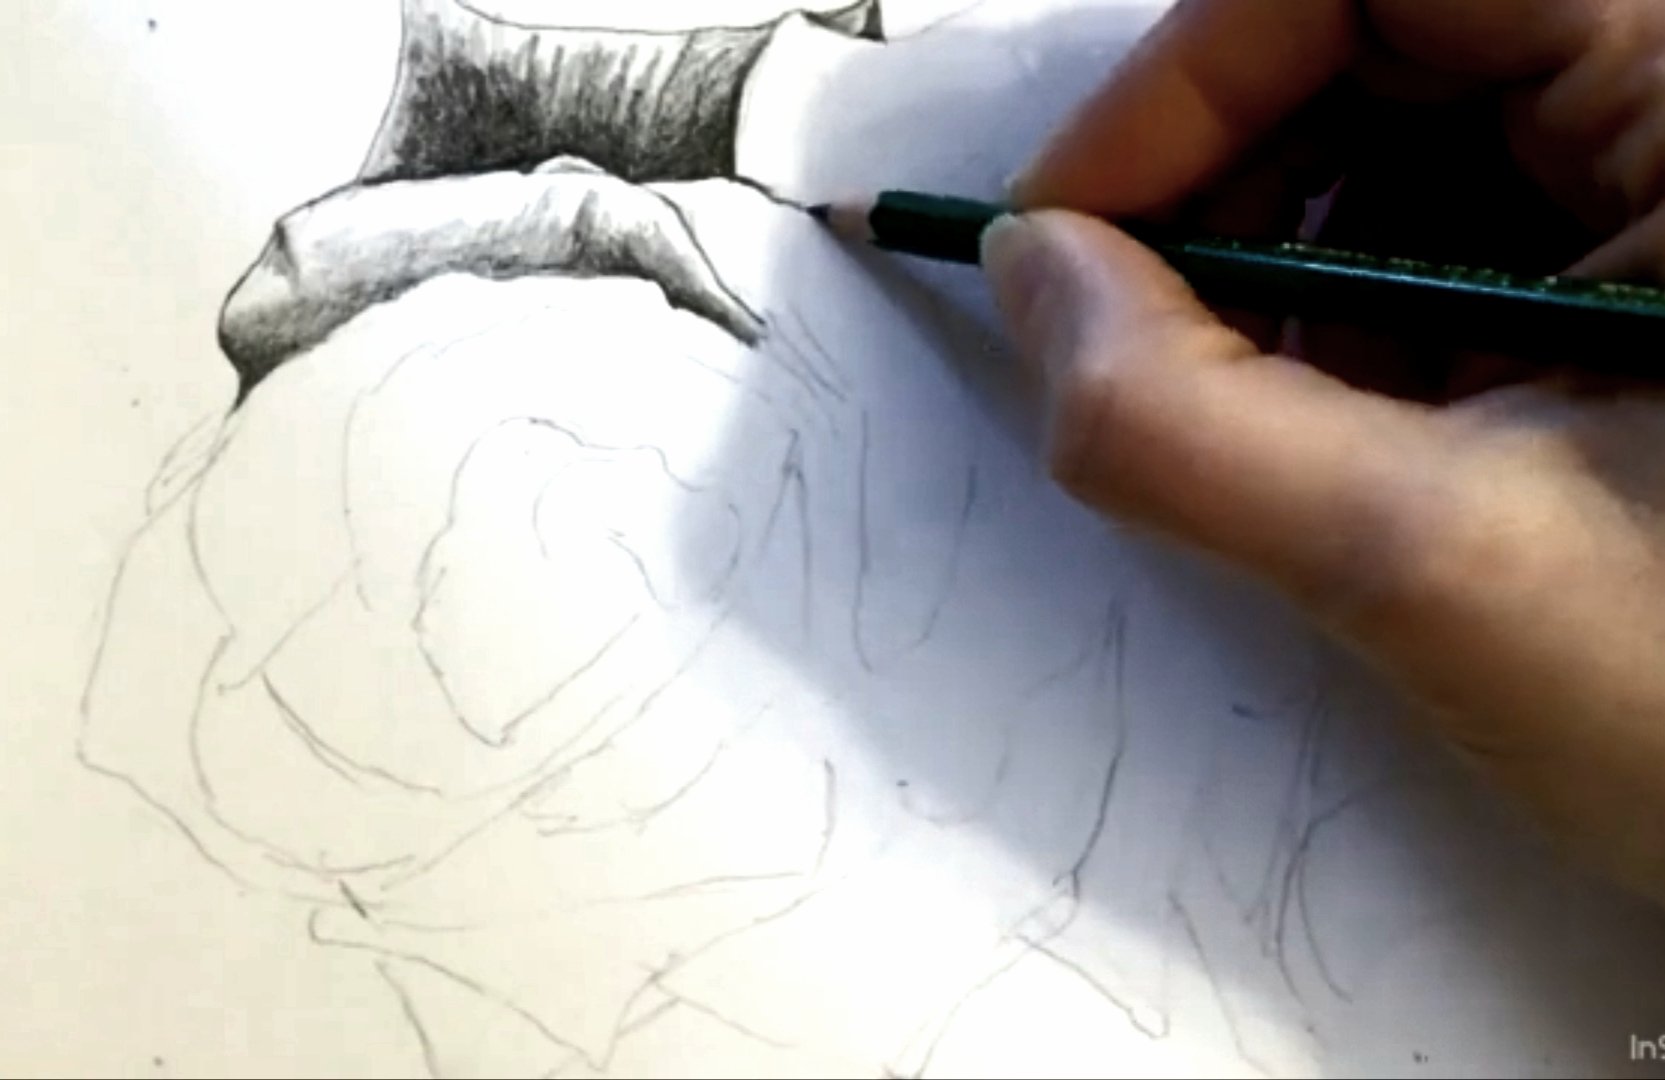
Focus on one petal at a time, refining the shape and suggesting form by darkening the inside edge and leaving the outside edge a lighter tone.
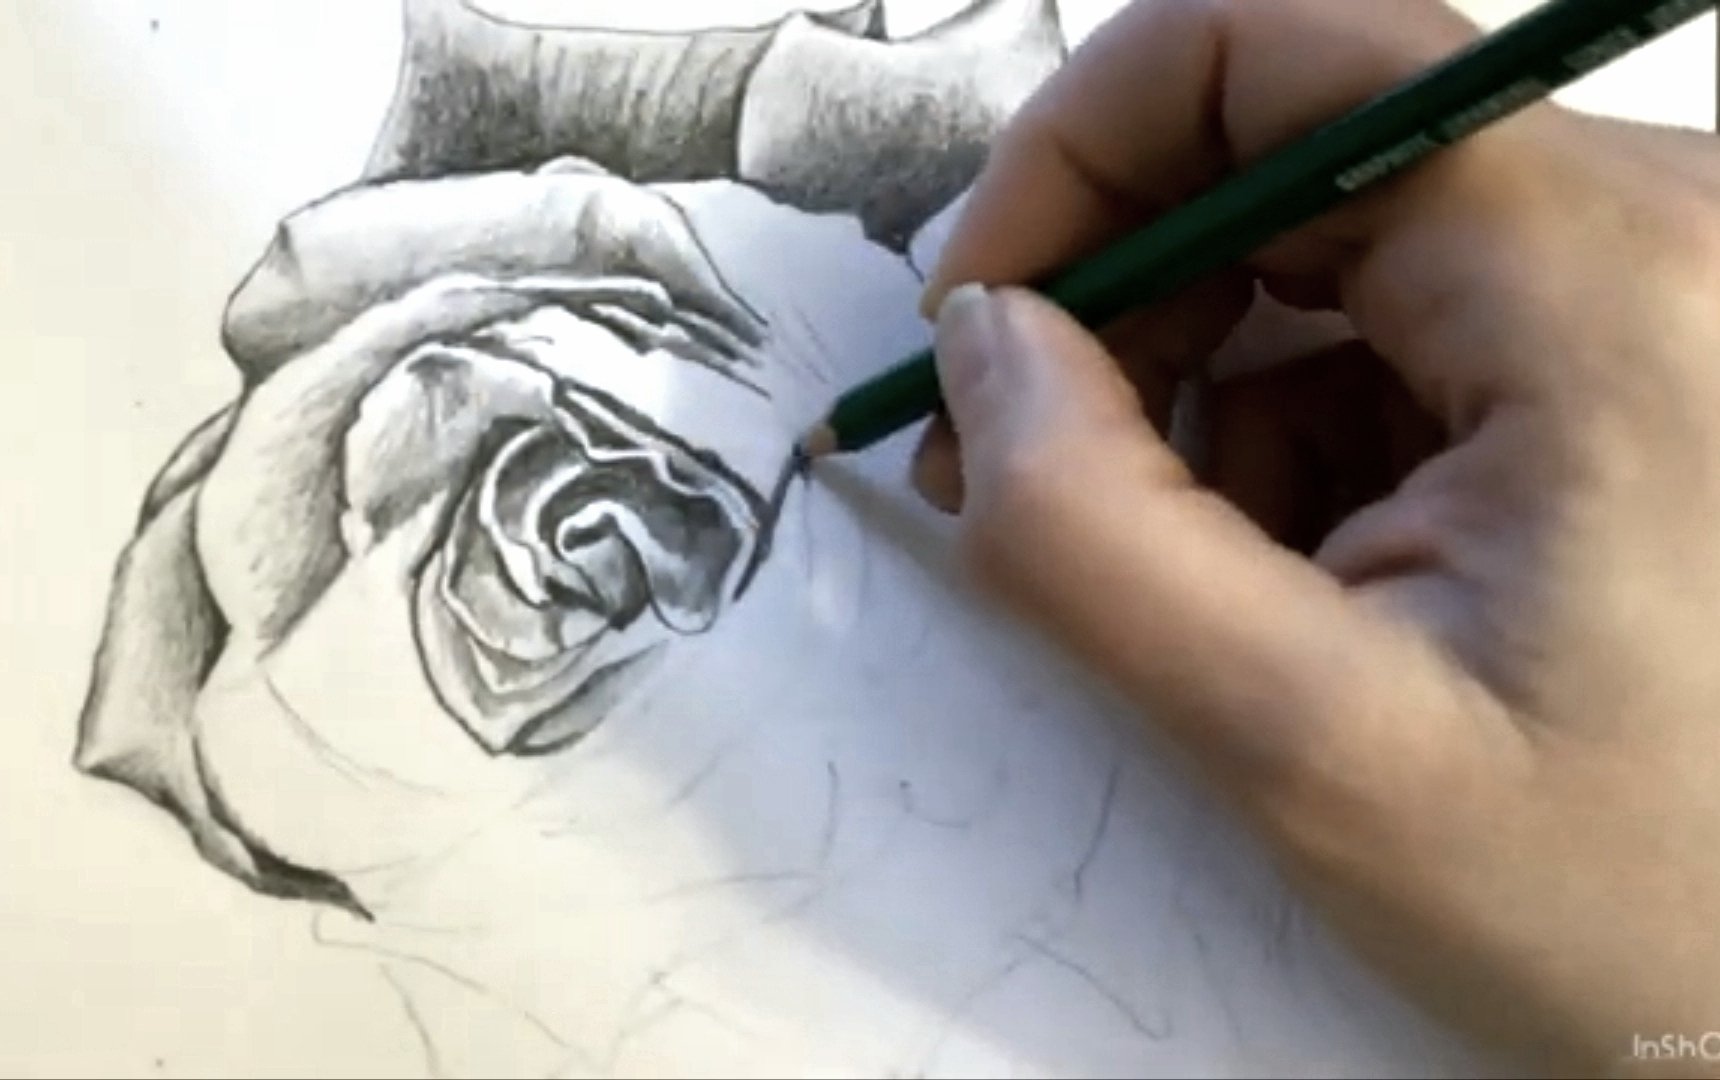
Focus on the small detail and contrast to illustrate the fine petals in the center. Take your time, this is the focal point of the flower.
Drawing a rose gets a bit weary at this point and it can be hard to focus with so much detail going on. Take it one petal at a time, its almost finished now.
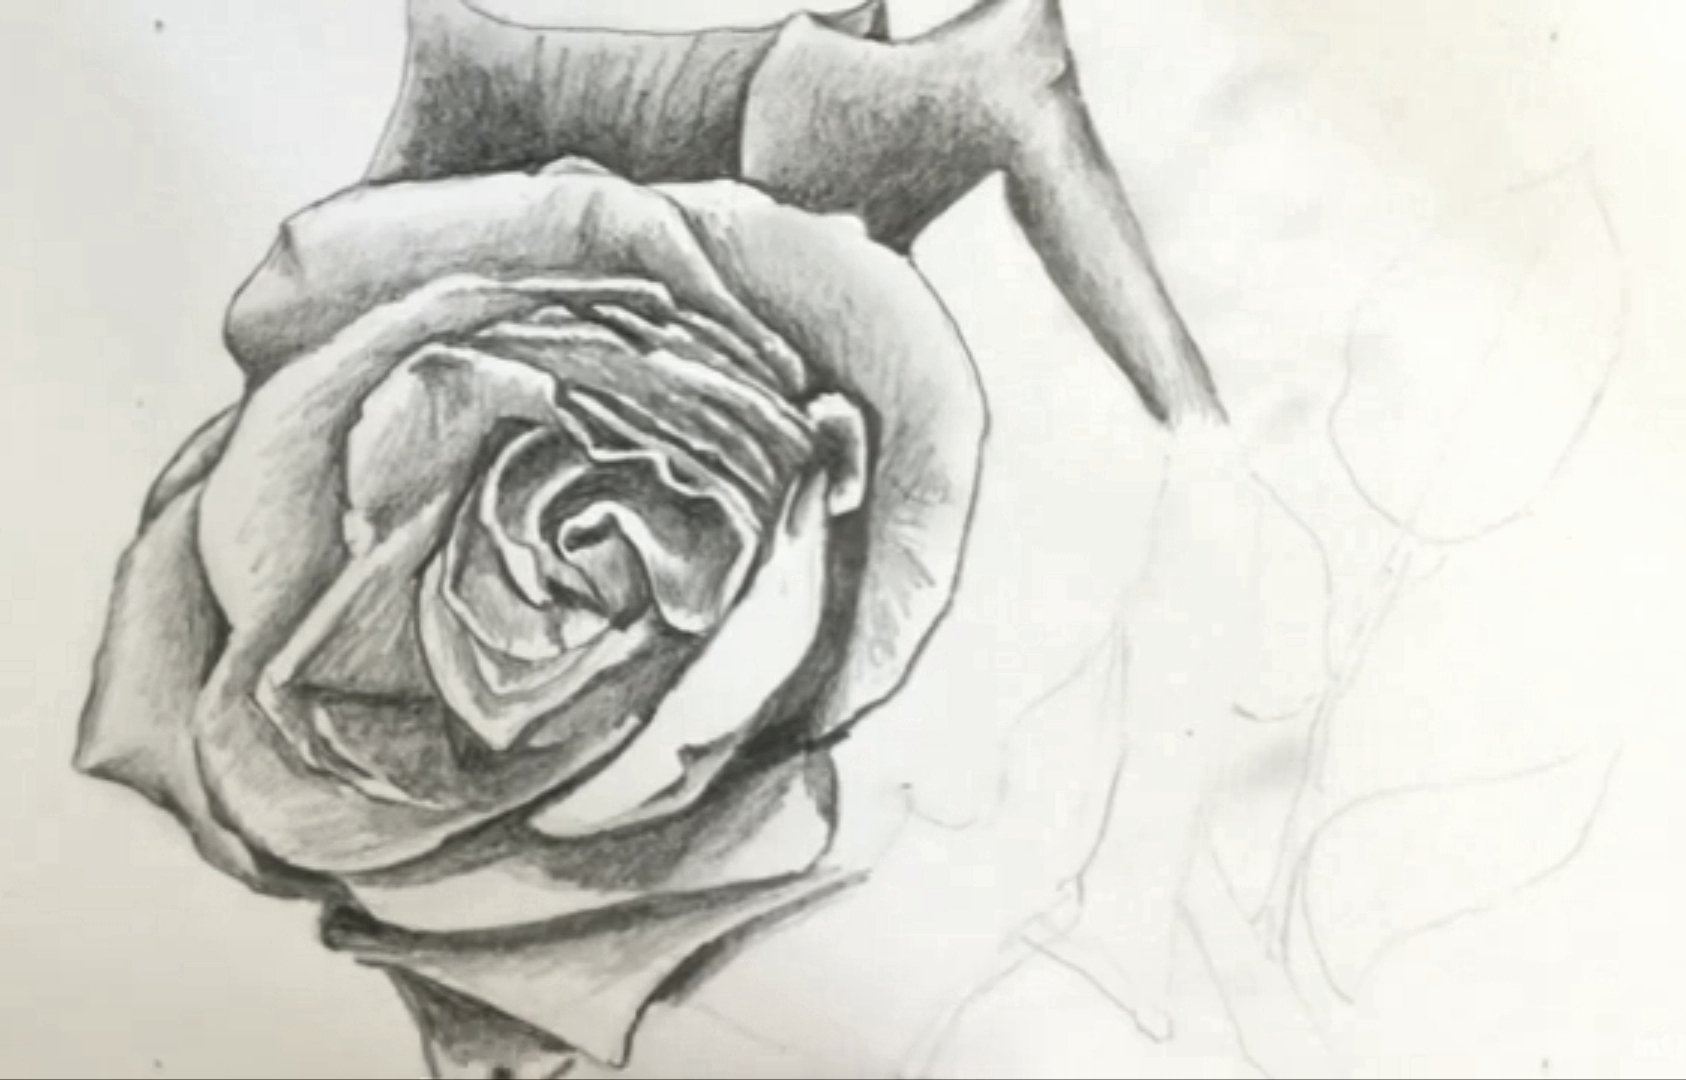
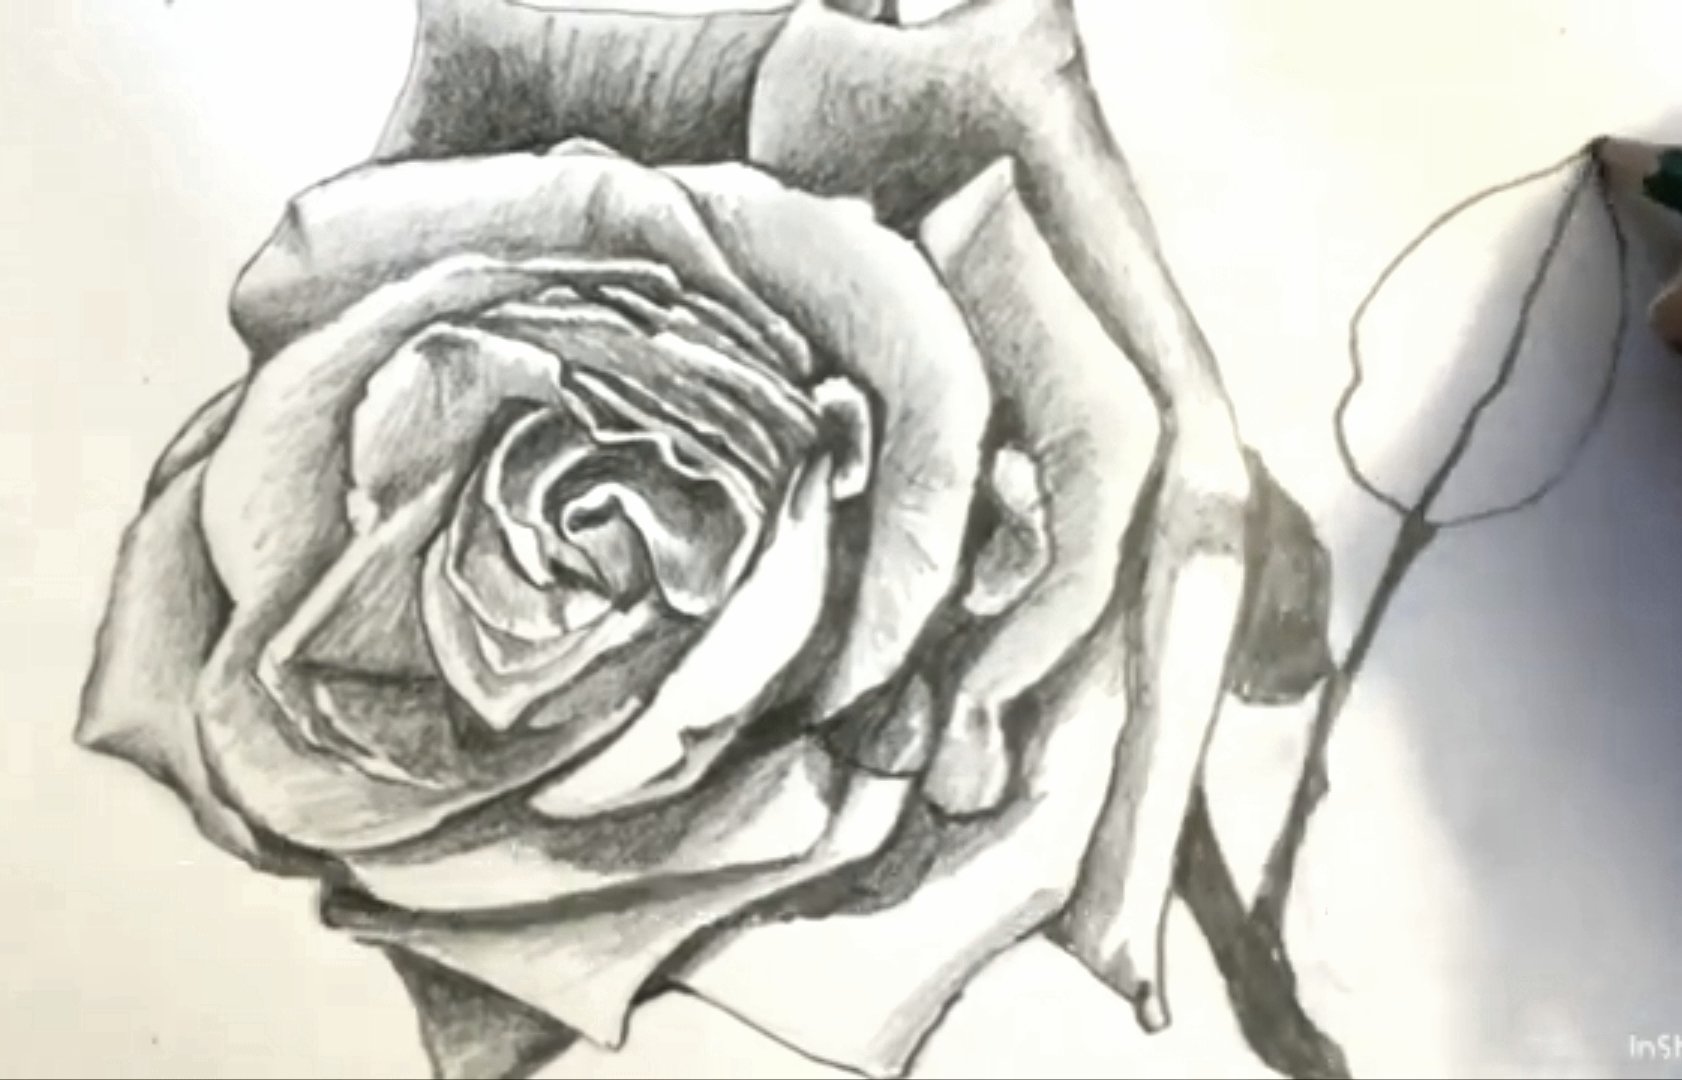
The stem and leaves can be rendered quickly without much detail. they are background so avoid harsh contrast and sharp lines. It doesn’t take much to suggest these forms.
Carefully clean up any background smudges with your eraser and you’re done.
I hope you’ve enjoyed this tutorial, thanks for sticking around to the end.